2021 Shino Research Project - Part 1
This past school year, I set out on a journey to create my own carbon trap shino recipe. My goal was to create a shino that would reliably trap carbon to the point that most of the glaze appeared black, and that the surface would be glossy or at least semi-glossy. As for my parameters, they were quite simple. I would use much the same high-fire reduction schedule as I have the past few years in the gas kilns at the Polytech and I would be using the materials we have available at the Polytech. The clays I would be testing on would be Mac’s Mud Classic White and Whitestone.
I knew going into this research project that I may not come out the other end with a shino that I was fully happy with. I was fine with this prospect, as I knew that even after the course ends, I will have that much more knowledge under my belt to continue my experimentation.
As for resources going into this testing, I have John Britt’s The Complete Guide to High-Fire Glazing as a primary source of recipes, as well as glazy.org. Digitalfire.com would be another important source for information on individual materials and firing types. Additionally, I spoke with tutors and past-tutors at the Dunedin School of Art about carbon trapping, including Rob Cloughley, Neil Grant, and Michael Tannock.
In this report, I will be chronicling my research, testing, and experimentation as I go through the process.
A Note on Substitutions
Obviously, not all materials listed in recipes in books or online are available in New Zealand. Some are no longer manufactured or mined at all. Here is a table listing the materials and the substitutions I used, also the specific materials I used if a generic form was listed.
Barnard Slip — 65% Ball Clay, 35% Red Iron Oxide
Redart — Locally dug clay from Whare Flats Road
Minspar 200 — Indian Soda Feldspar
Ball Clay — Kentucky OM#4 Ball Clay
Kona F-4 Feldspar — Indian Soda Feldspar
Custer Feldspar — Indian Potash Feldspar
Phase 1
The first thing I'm doing as part of this research is to test basically as many existing carbon trap shino recipes as I can. Which at the start of this is 17. These come primarily from the ubiquitous John Britt book, The Complete Guide to High-Fire Glazes. Some of the recipes are ones found on glazy.org, and one of them is from our records here at DSA. To keep the size of this document reasonable, I have a glazy.org bookmark list with this initial recipe list of shinos which you can see here.
I made sure to use warm water to help the soda ash dissolve more fully before being sieved through 100# mesh. I got my 17 test cups labeled and poured/dipped them all on a Thursday afternoon, planning to fire them the coming Tuesday. I poured the glaze into each cup, counted 10 seconds, then poured the glaze out. Then I quickly dipped the cup upside down into the glaze. Then I dipped it half-way upside down for 10 seconds. This is the glaze mixing and application that I will use throughout this research process.
In retrospect, I didn't do the best job on this firing as I could have. It went into reduction, sure! But not heavy enough to achieve carbon trapping. I think I was a bit too antsy to get the temp up and toyed with the damper too much, causing the reduction to falter a bit. Not smart! Definitely something I will make sure to work on the next firing.
In addition to the poor firing, I think I needed to let the cups dry longer after being glazed. While four days was enough to really dry out a shino during the summer, the temperature has been dipping and doing weird stuff here in Dunedin this week. I think this meant that the soda ash didn't have the opportunity to reach the surface quite as well.
This does mean that my first set of tests didn’t contribute much to my end goal. The only one that had a little bit of carbon trapping is the one from our records, that I now call "Reading Error Shino". The recipe is titled RJ Shino, but when compared with the traditional recipe for RJ Shino, I noticed that at some point, someone had accidentally dropped the decimal in the soda ash percentage... changing it from 2.9 to 29! With such a high amount of soda ash in the recipe it's not a wonder that of all of them, that was the one to get some shadowy-ness. It's also the one that as I was taking out of the kiln I immediately dropped and smashed on the ground!

Firing chart of the first firing (Note: the controller on our large kiln is about 100 degrees off by the time it gets above 1000 degrees, so while this chart says it does not get above 1200, the cone in the firings says otherwise).So, even though I didn't get any results I was looking for, it was still a learning process and helped with my research. I've made up a bunch more tester cups - including some Whitestone ones - for the next firing.
Phase 2
I learned a lot of lessons from the first attempt at testing my assortment of carbon trap shinos. "Surely, this next time I'll get it right!" I thought.
I did not.

The freshly fired second batch!But I did learn a lot (again!) from this firing... and I do think that next time I'll get it (maybe? is it hubris to think that??).
So what happened? What went wrong? What went right?
A lot went right actually. Definite progress has been made. For example, I have found the perfect spot to dry my glazed cups in the studio. In the Fish Bowl (as some of us affectionately call it), where the second-year students and masters students have their desk space, it is very dry and warm compared to the rest of the studio. Besides the office, it's the smallest room we have and it uses side radiator-like panel heaters rather than the over-head heaters the bigger rooms have (which only sometimes work it seems). This means I don't have to let the cups dry for a week or more to get proper soda ash coverage. Here's a pic of one of the cups a day and a half after glazing:

Soda ash formulation on the exterior of the cup before firing.You can see that crusty white stuff forming on the outside of the glaze. That's the soda ash coming to the surface. You can also see on the raw clay body where it's whiter - this is also where the soda ash has absorbed into the bisced clay. I had glazed this batch on a Friday morning, and taken the above photo Saturday evening. By Tuesday morning when I went to fire them, this cup was completely covered white!
So things are certainly looking up! However this is where I mess up (again). I (foolishly!) put the cups on the bottom shelf. A little background on the kiln I fire these in: this is a big gas kiln. Over the past year, Rob and I have had to do some adjustments to it to get the reduction working properly. There was a bit of time mid-to-late last year where only the very top of the kiln was going into reduction. We cleaned out the burners and had a gas guy come and adjust the pipes a bit. After that it was almost too-easy to go into very heavy reduction and a successful, well-reduced-throughout firing would take around 5-6 hours.
As more firings have gone on though, it's seeming like it's reverting to its old ways. I now have to keep the damper quite shut throughout the firing to get heavy reduction, and even then the bottom shelf is not getting hot enough nor is it reducing as heavily as the rest of the kiln. The firing for this batch took eight hours, and then it wound up not even having put the cone 10 over fully!
As you can maybe see in the above image, the cone I had on the bottom shelf (a cone 10), didn't even start going over. So these shinos are all underfired! However, they did get some reduction. I think they didn't get a heavy enough reduction at the proper temperature, combined with not getting hot enough overall, which led to yet another disappointing result.
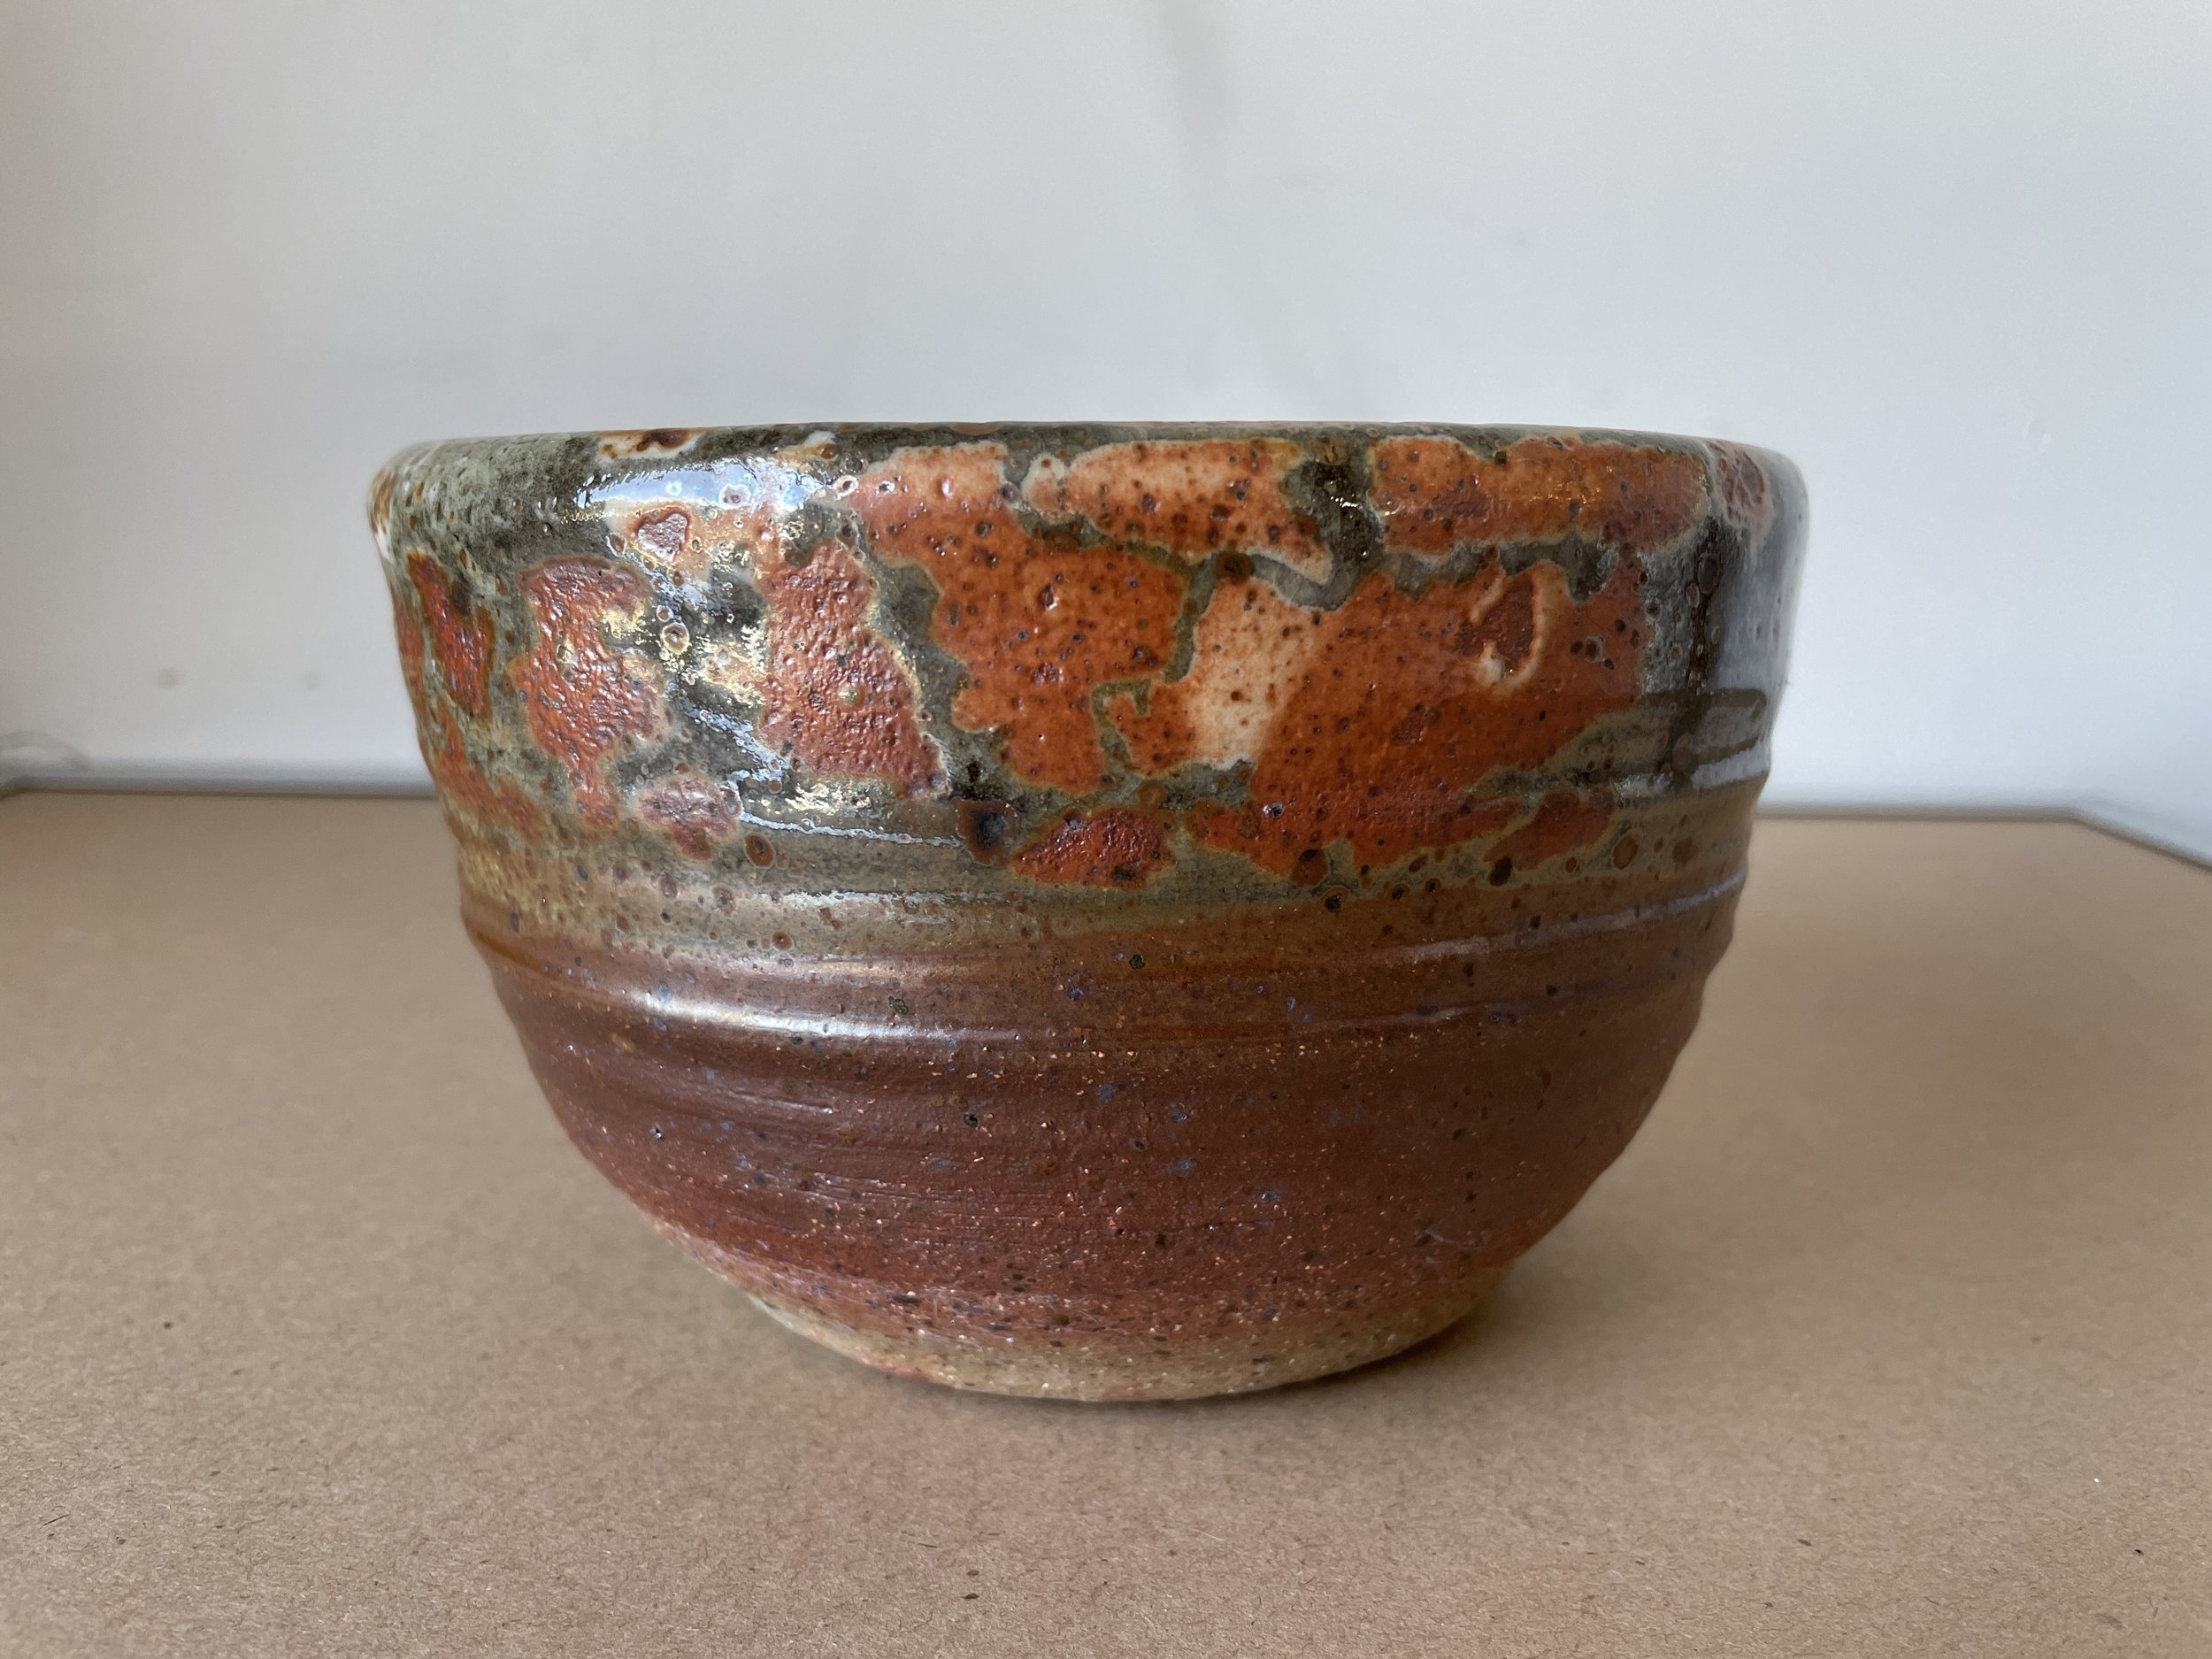
On the bright side, some of them do show signs of carbon trapping finally! You can maybe see in the above group shot how some of them have a more greyish, almost lavender appearance. This is due to the shadowy carbon being trapped in the surface of the glaze. In addition, some of them did some much more characteristically-shino things like crawling and breaking to a bright red where thin and between the crawled bits of glaze (especially on the Whitestone cups, which I included in this test).
So what will I do next time?
· Place the shinos higher up in the kiln
· Fire for even longer, even if that means a 9-10 hour firing to ensure it is hot enough and reduced enough
· Dry the shinos in the same place in the Fish Bowl